
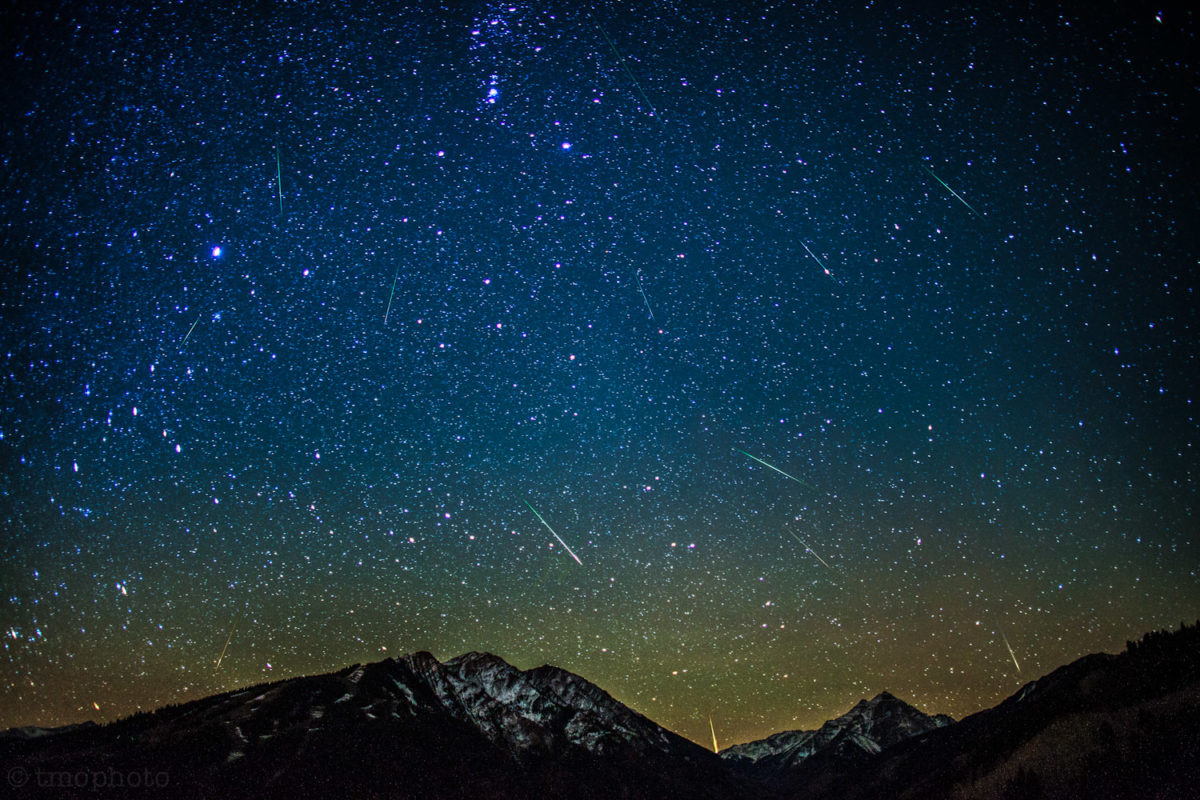
Photographing a meteor shower is more like photographing a time-lapse than traditional still photos. You can never anticipate where or when a meteor is going to streak across the sky. In order to catch them, you have to set up and take as many photos as you can throughout the night with a wide-angle lens on the camera. If you leave the camera in the same position you can use the resulting images for a short time-lapse clip in addition to the still images you can capture.
On May 24, 2014, and through Memorial Day weekend, we are about to pass through a brand new comet tail. Not much is known about this meteor shower, but we do know the debris was created by a comet passing through this area of space in the 1800s. The best viewing will be in the Northern Hemisphere (Southern Canada and the continental US). As with all meteor showers, it could be a dud or it could be great. The meteors will be radiating from the north in the constellation Camelopardalis and should be visible all night in the northern hemisphere.
10 tips for photographing meteor showers:
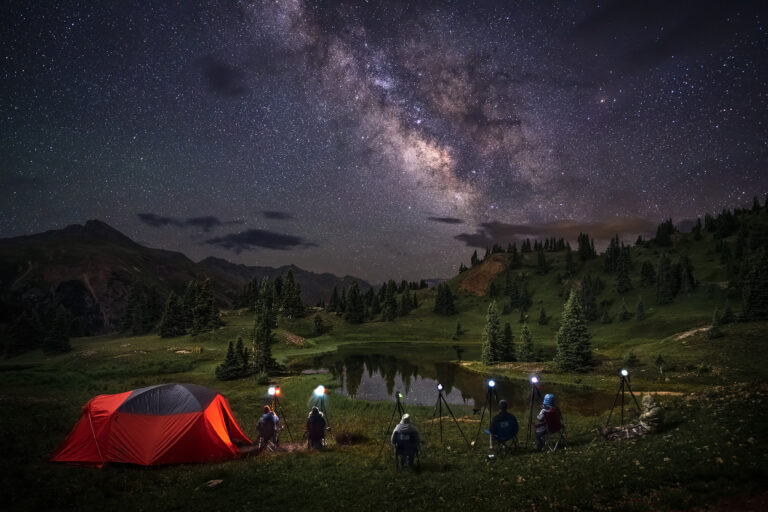
- Find a location that is far away from the light pollution of major cities and towns. You can use this handy website to see at a glance where the dark skies are. Use this site as a general guide, and keep in mind that there are things like oil rigs and mining operations that don’t show up on these maps.
- Get set up as fast as you can, the more time your shutter is open and taking photos the more chances you have of capturing a meteor.
- Use a good sturdy tripod in order to get a sharp photo of a meteors.
- Focus to infinity. This can be somewhat tricky in the dark, so a good way is to pre-focus the lens when the sun is up and tape the focus ring with gaffer’s or duct tape so it won’t move while you are moving around and setting up shots. You can also focus on the moon (if present) or a bright star, or use your camera’s live-view function. Obtaining accurate infinity focus is critical.
- You will need a wired cable release (just a simple cord with a locking shutter release button). Set your camera to the widest aperture the lens will allow, and the highest ISO that you are comfortable shooting with and an exposure that gives the best results for the location, light, and phase of the moon. A good starting point is f/2.8, ISO 2000 and 15-25 seconds. If you have an f/1.4 lens, that’s even better as it will allow you to shoot with a lower ISO and have a less noisy photo. As soon as you have a good exposure you can put your camera on continuous drive mode (where you press the button down and it takes photos until you release) then lock the button down on the cable release.
- Use your fastest f-stop (the lower the f-stop number the better) and widest angle lens you have. You are looking for a lens that is at least f/2.8 and preferably an f/1.4 lens. The lower the aperture the more light will get let into the camera. You will capture about double the meteors with a lens that opens to f/1.4 when compared a f2.8 lens.
- Have an adequate power supply (a battery grip on your camera with dual batteries) or direct DC power connector to an external battery pack. You are aiming for shooting all night long with very few or no breaks in shooting (remember the goal here is to keep the shutter open and taking pictures as much as possible while you are out there). The best meteors are generally just before sunrise so try to make sure your camera is taking images all night. In a pinch, it’s fine to use a single battery with a replacement that you can quickly swap.
- Position the camera facing anywhere from the Northwest to the Northeast will give you the best results. I have found that positioning the camera slightly away from the radiant point of the meteor shower results in longer meteors since they are not coming straight at the camera. The position of this radiant will make for some incredible time-lapse footage spinning around the north star.
- A large capacity and relatively fast memory card for your camera. You want to try to get a card that will hold an entire night’s shooting and also has a fast enough write speed so your camera can empty the cache and continue to take images without having to pause. If you have to stop to change cards you may miss a giant fireball meteor. I usually shoot with 64 Gb compact flash cards and have found that you can generally get through most of a night even in the winter with one of these cards.
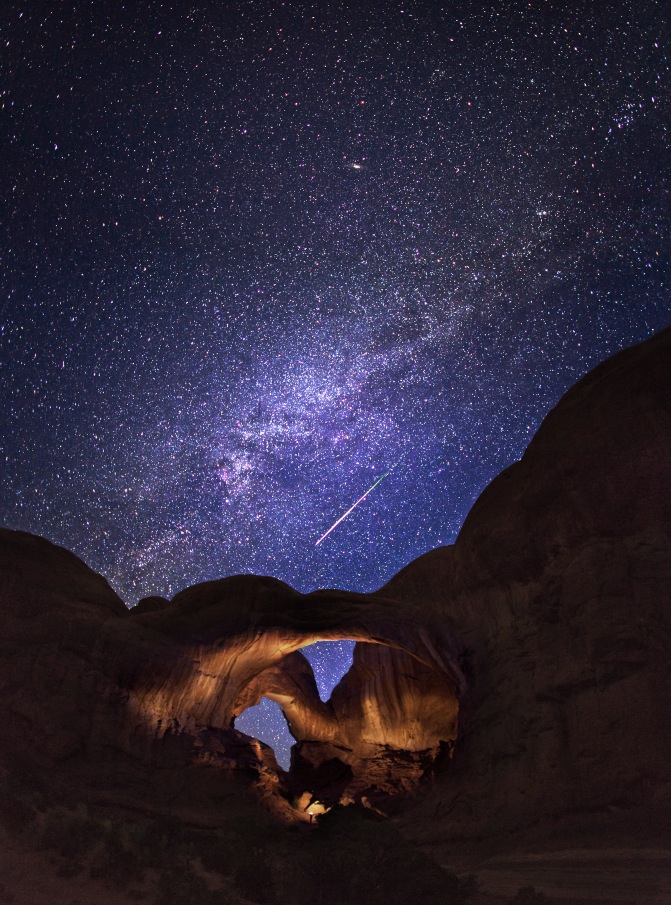
- Composition – after all the techy stuff, you still want to make a compelling image. Choose a foreground element, such as as stand of trees, a rock formation, or mountains. Something to anchor the photo and give it a great look rather than just a shot of the stars and meteors alone in sky. At the same time, you want to include as much sky as possible, and this why we recommend the widest possible lens.
Now, get out there and capture some meteor showers!
This post and photos are courtesy of Muench Workshops guest pro Thomas O’Brien.