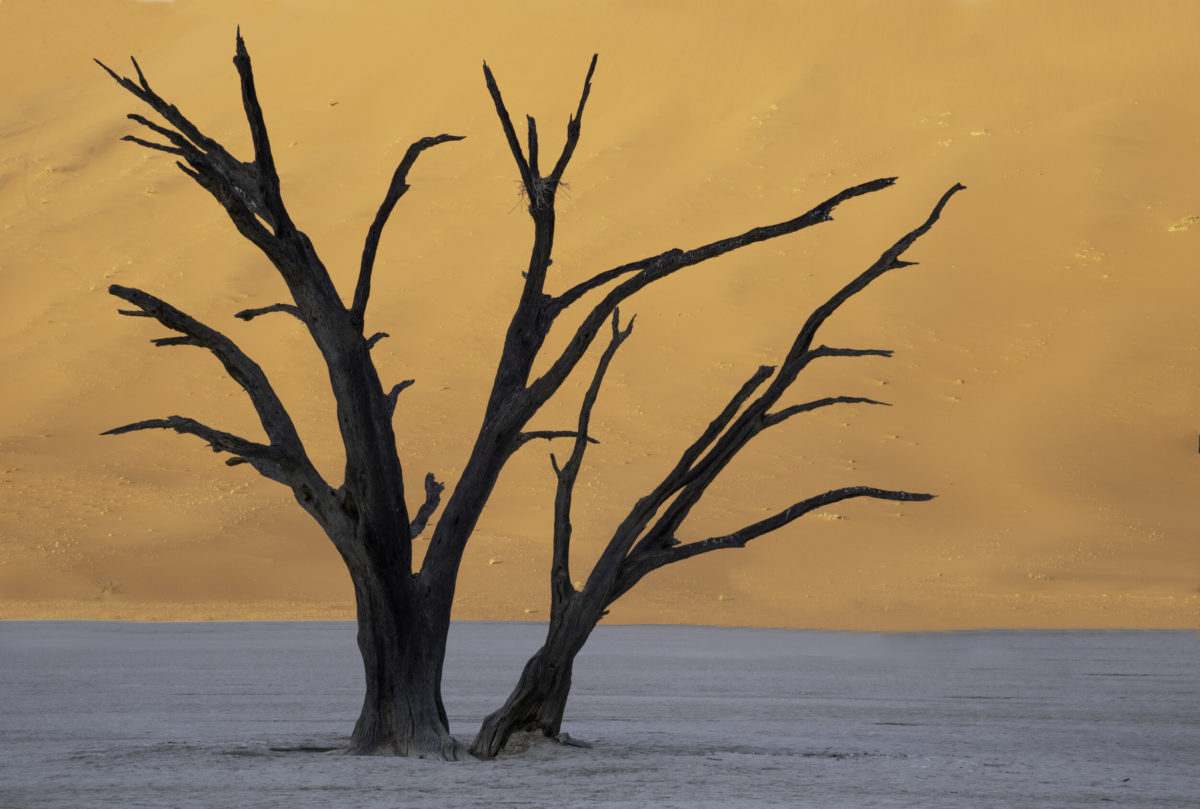
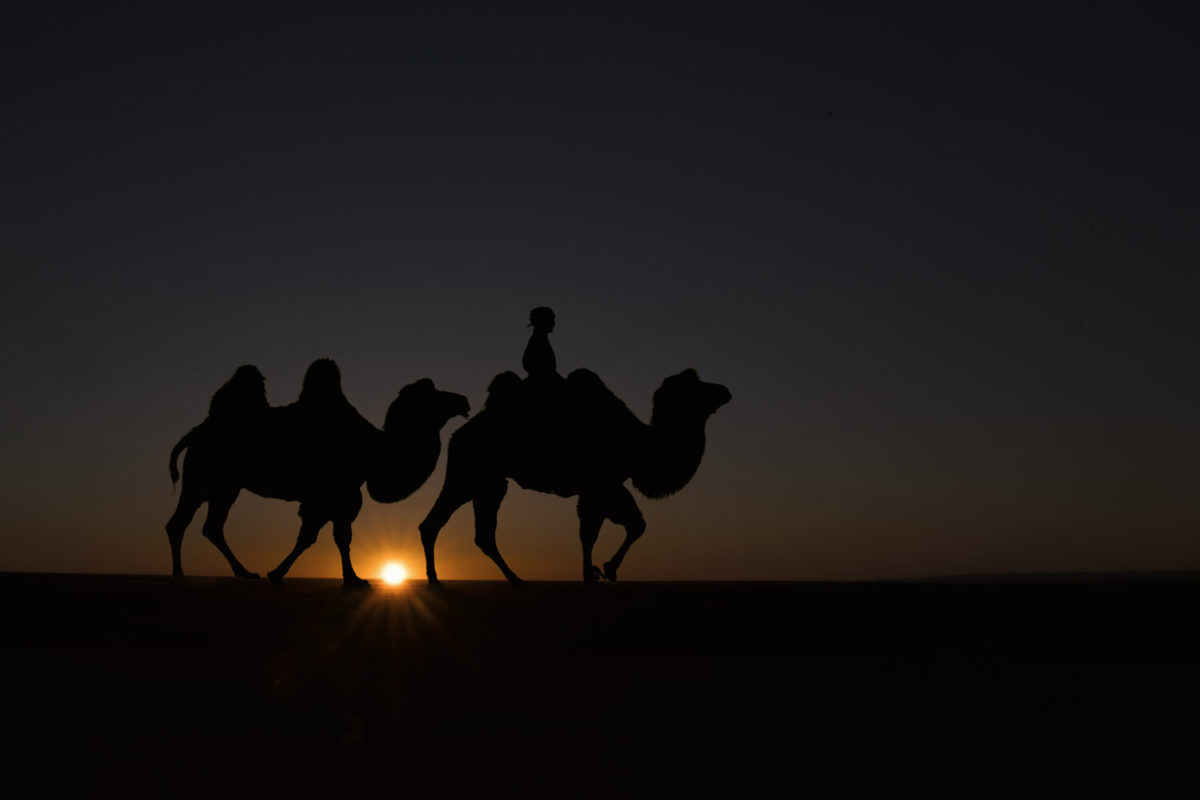
Silhouettes are a creative way to convey drama, mystery, emotion, and mood to the viewers of your photos. This type of photography is an excellent study of how the direction of light can drastically affect the resulting images. Silhouette photography is all about composition, lighting, and exposure.
Here are some tips to help you take silhouette photography.
Choose a strong subject – a person or something with a clearly identifiable because your viewer will only see the outline.
Position them with the light source or the setting sun behind your subject.
Make silhouetted shapes distinct and uncluttered – If there is more than one shape or object in the image that you’re attempting to silhouette, try to keep them separated. If shapes overlap your viewers could be confused about what the shape is.
Shooting in Manual mode is, by far, the best way to achieve a silhouette. When adjusting your settings, meter to perfectly expose the background light, not your subject. You may also find it helpful to slightly underexpose the shot slightly, as this will give your subject an even darker silhouette. Then, you can adjust the exposure of the background in post-processing if needed.
When possible, use a small aperture (high number) so that your subject and the majority of anything else showing in the image will be in focus. You want a large depth of field, but try not to go lower than f/8. If you are using a larger aperture, ensure that your subject is in focus – which is critical for silhouette shots. Start with your ISO low for the best quality and then increase as needed as the sun goes down and the light decreases.
If you are shooting in Auto mode, you will want to apply the same idea of light metering to get the correct exposure for the background. This can be tricky with cameras in Auto mode because they are designed to perfectly meter the entire scene. However, you can trick your camera by pointing it at the brightest part of your background and pressing your shutter halfway down. Then, once the camera is metered for the bright area, move your camera back to frame your subject and press the shutter all the way down to finish taking the shot.
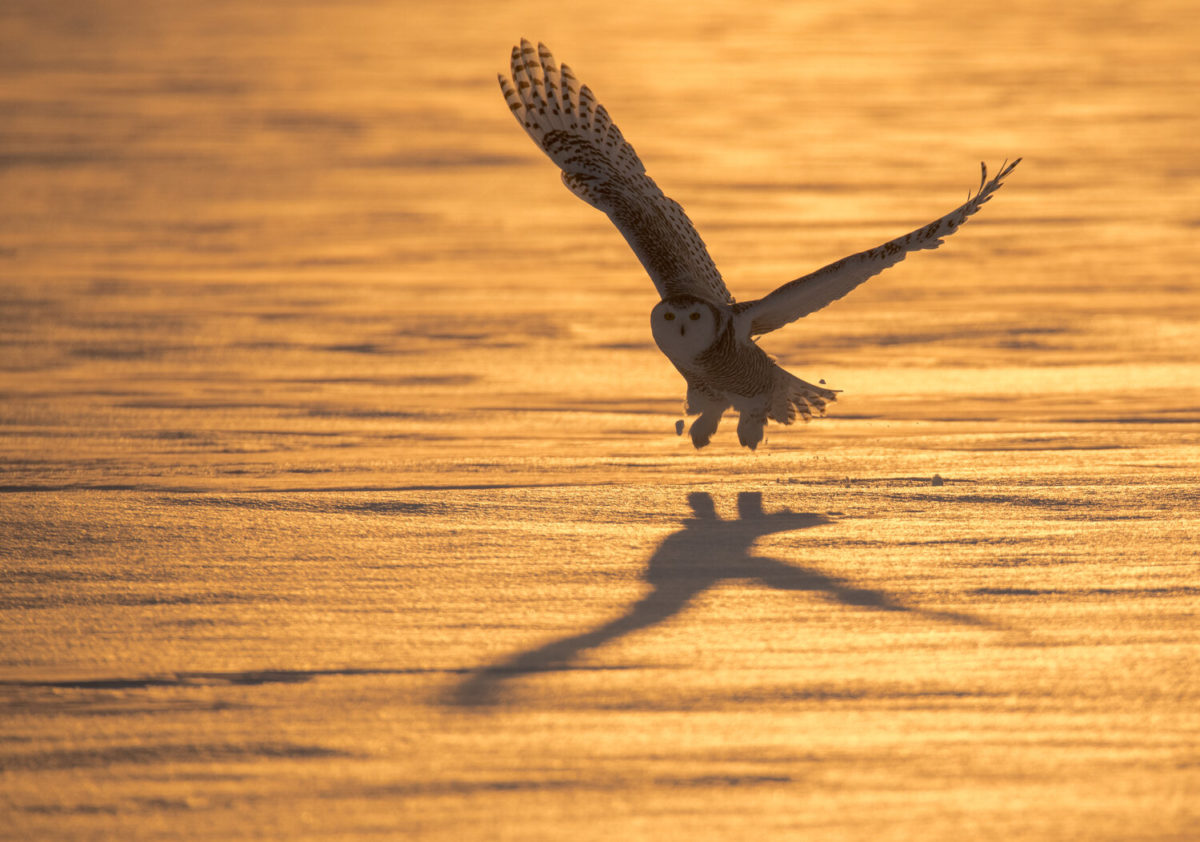
One last tip on how to photograph Silhouettes – while a total silhouette with a nice crisp and black subject can be a powerful shot, also consider the partial silhouette where some detail of your subject is left.
After you have created your silhouette images, post your results on our Muench University Facebook page. Our pros will be waiting to offer helpful commentary, and we also encourage you to leave comments on each other’s images. Let’s have some fun with this one!