Infrared (IR) photography offers an alternate view of the world. It achieves this by capturing light at slightly longer wavelengths than is visible. It’s called near-infrared and differs from thermal imaging, which uses the far-infrared (even longer) wavelengths. The result is sometimes dreamy and always mysterious—you only know how a scene will render in infrared once you see it in infrared. Digital cameras make this as easy as looking through the viewfinder—but only if you have a camera specifically converted to shoot in infrared. And here we touch on the dark side of IR photography—the technical “weeds” are way too easy to become trapped in. But IR photography does not have to be a deep dive into technical obscurity. Sure, you need to learn a few things, but you don’t need a degree to understand the concepts.

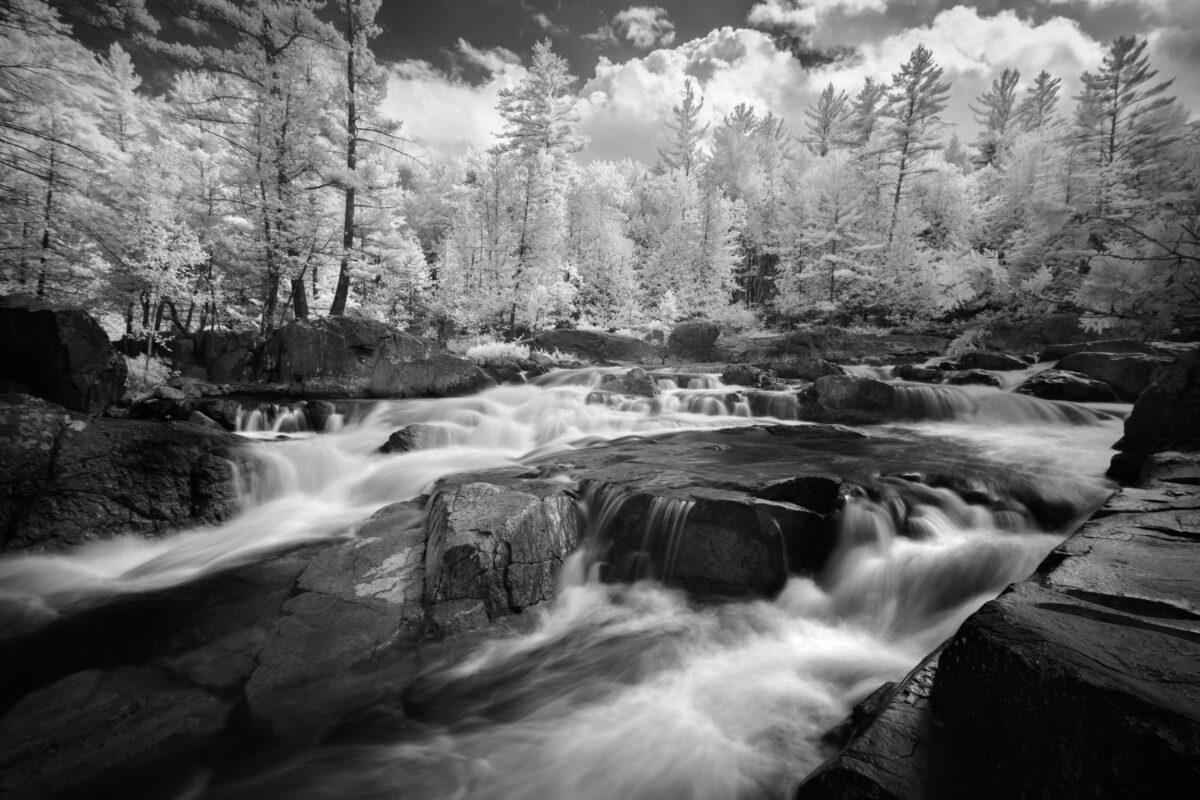
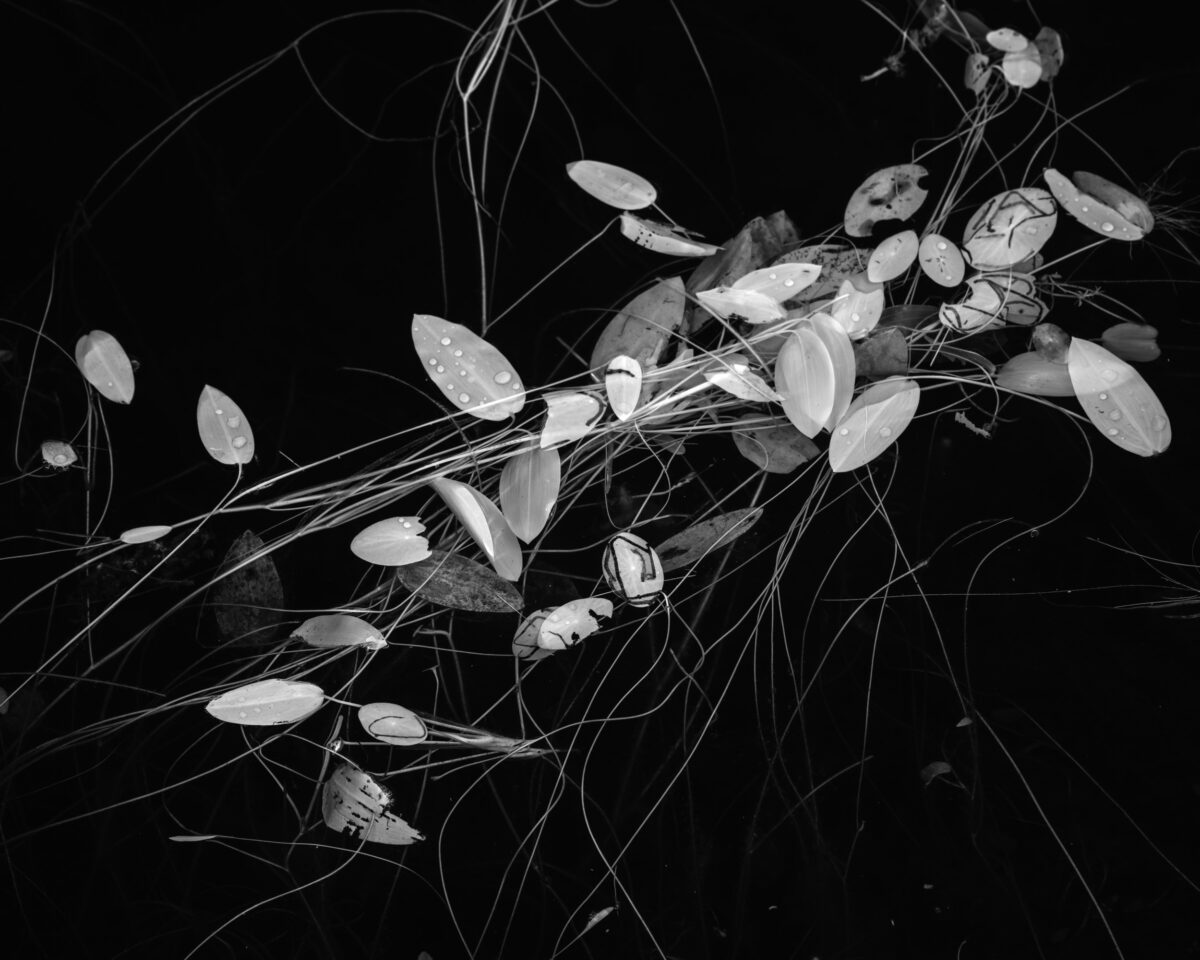
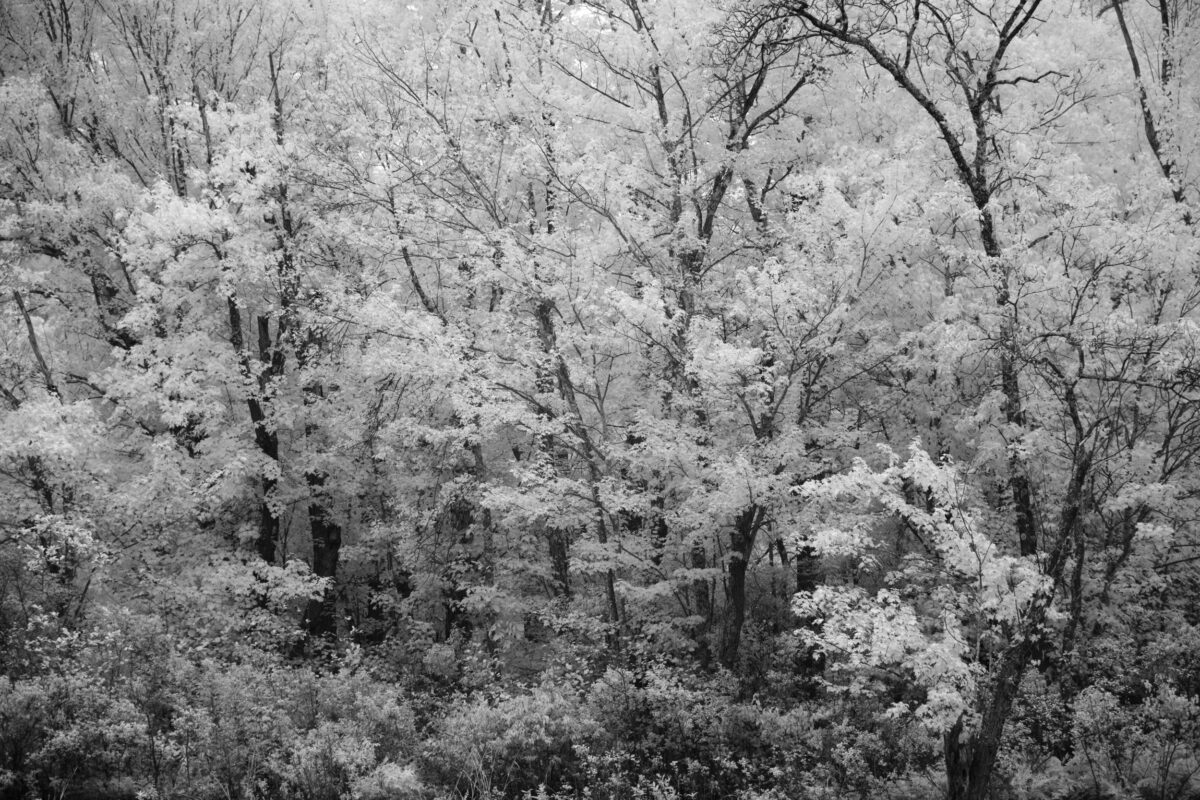
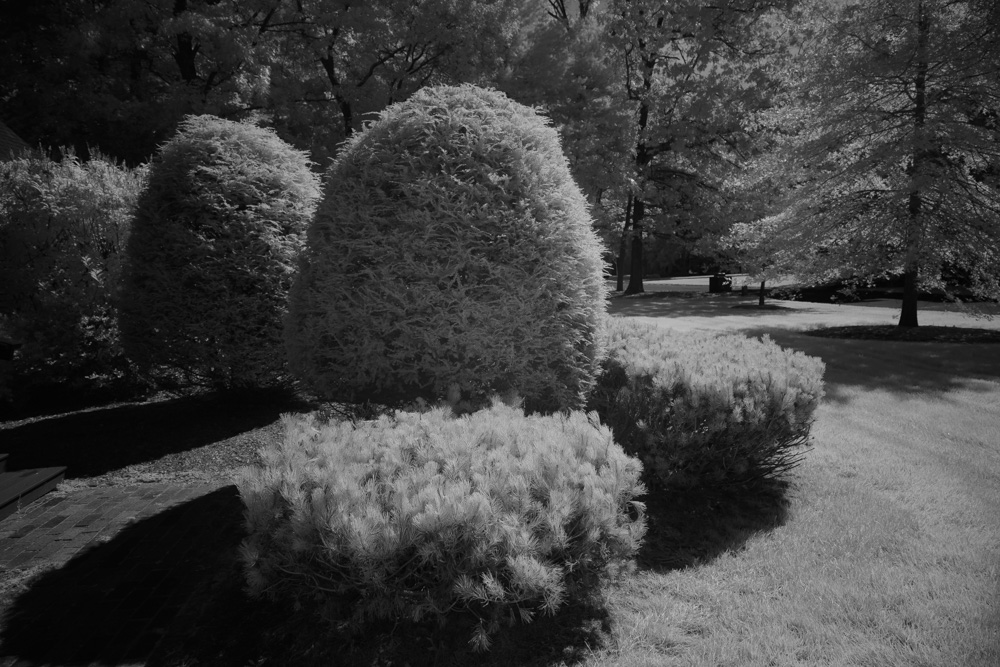
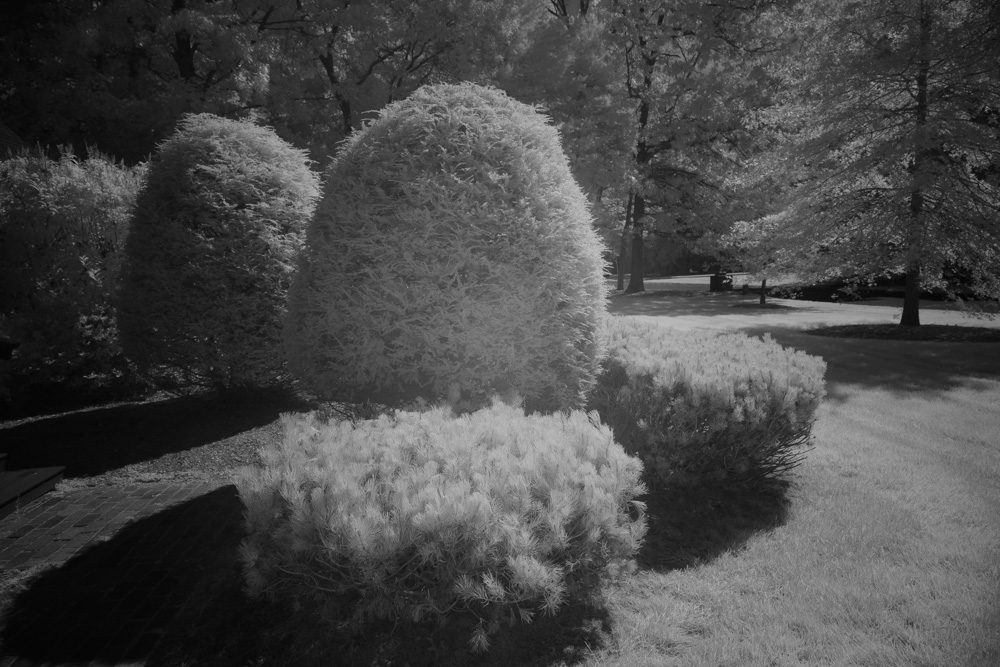
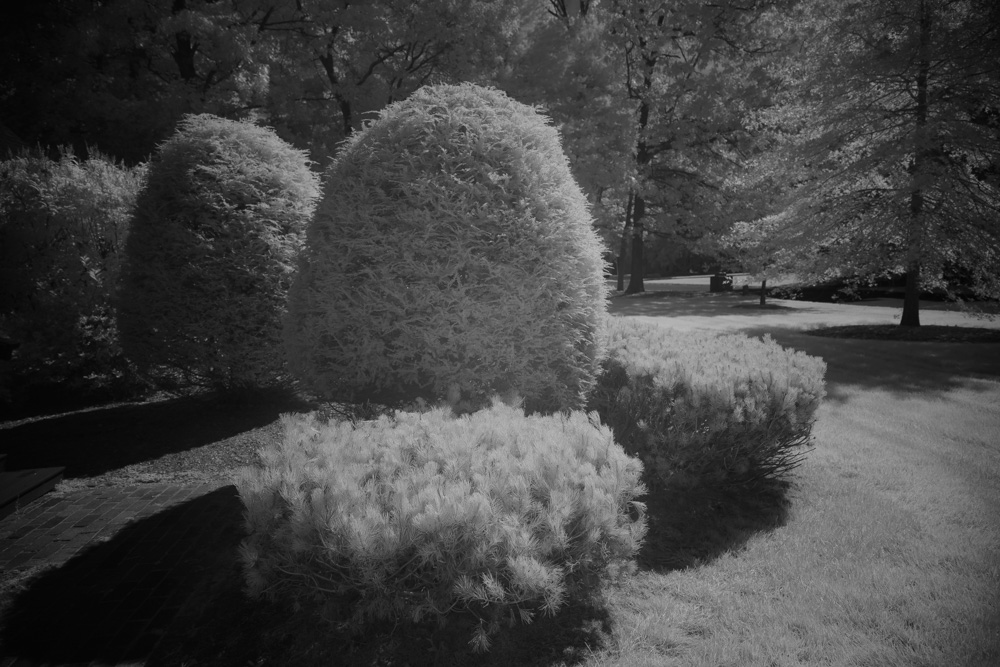
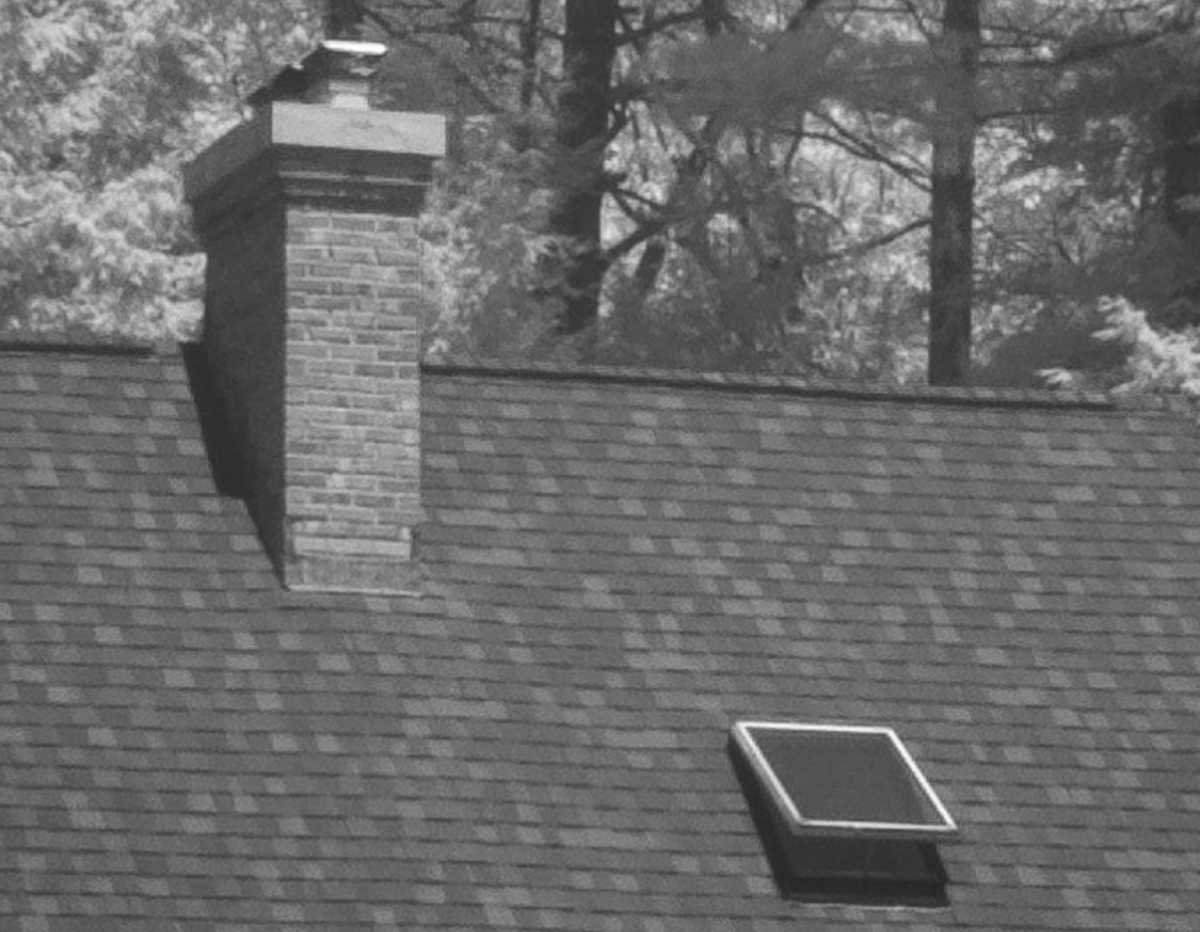
The upside is you open up a whole new world of photography. You can now photograph in conditions that a color photographer would avoid. You see things in a whole new way. Foliage becomes bright, skies dark, and clouds are even more impressive with increased texture and contrast. When shooting portraits, skin becomes smooth with a beautifully haunting look.
Many IR photographers process their images with “false color” and use channel-swap techniques in Photoshop. I am steadfastly in the monochrome camp when it comes to IR photography. I will not be covering false color techniques and considerations. I’m also a landscape photographer, so everything I say about IR photography is through that lens.
The first infrared images were captured on film specially designed for that purpose. Standard color film is not sensitive to infrared light, so they developed a new type of film to capture it. Digital sensors are sensitive to IR, so the manufacturers put a filter in front of the sensor to eliminate it, restoring the sensor to a faithful representation of color as we see it (barring, of course, the different types of color blindness). The longer wavelengths of infrared light not only change how things look, but it also behaves differently in your lens and camera than does light in the visible spectrum. The longer wavelengths change how the light is focused, how much diffraction it is prone to, etc.
Infrared Filter Types
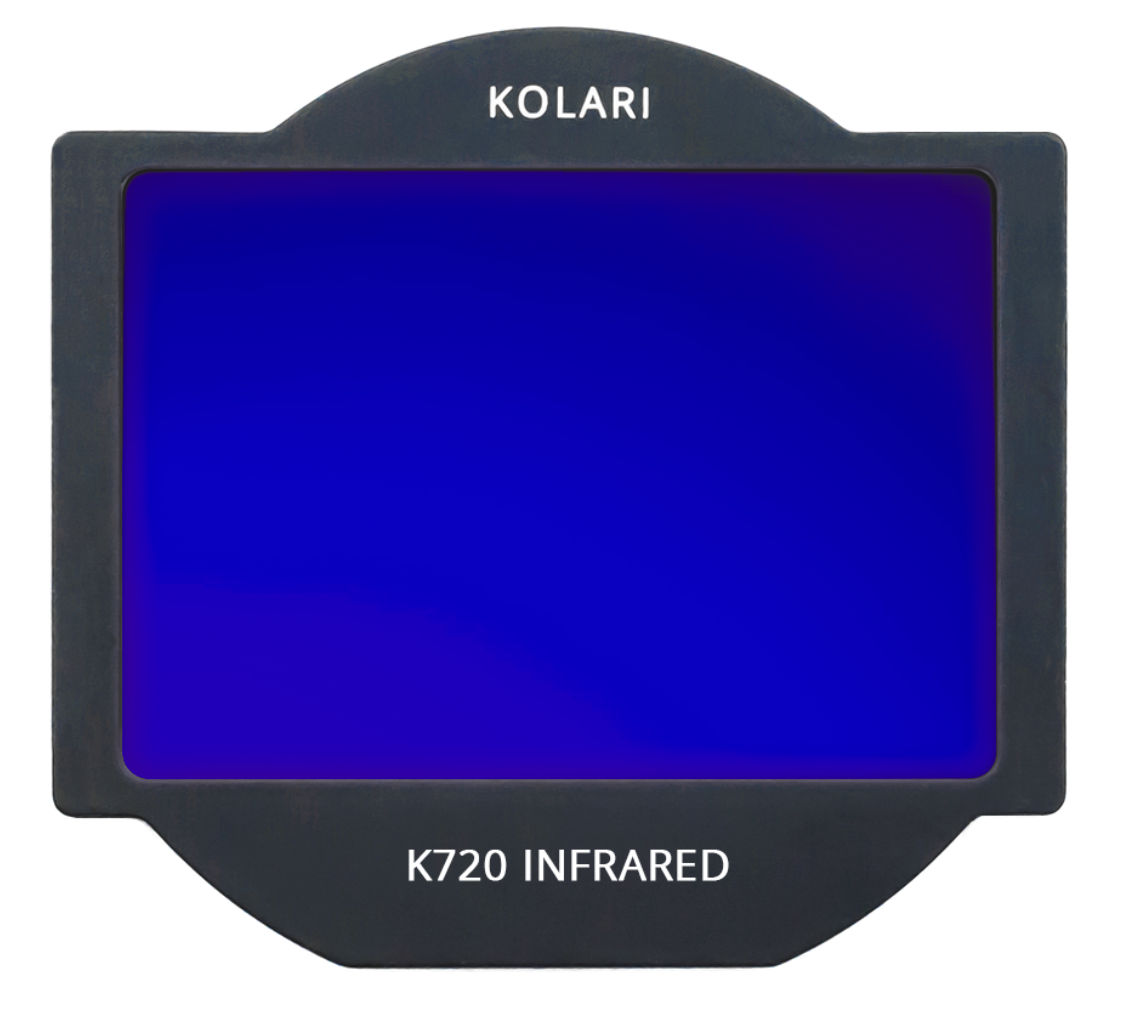
IR filters are differentiated by the wavelengths they transmit, measured in nanometers (nm). They generally run from 550nm up to 830nm. The higher the number, the farther the wavelengths are from the visible spectrum, and the lower numbers include parts of the visible spectrum. 720nm is considered “standard” IR and is my filter of choice. Both Kolari Vision and LifePixel have helpful resources showing the qualities of their different filters. For monochrome infrared photography, I recommend 720nm.
Camera Considerations
You have four basic options if you want to start photographing infrared images. Remember, I’m keeping this simple, so this is not an exhaustive list of options.
The first option is to purchase an IR filter and slap it on the front of your lens, mounted to your standard color camera. At first glance, this may seem to be the best (and cheapest) way to see if you’ll enjoy IR photography, but the truth is it’s a terrible experience. Sure, the lens you buy will cut out the visible spectrum, allowing the IR wavelengths to pass, but right in front of your sensor is the IR cut filter, which does the exact opposite. These two filters work against each other, resulting in long exposures and poor results.
The next option is to buy a point-and-shoot camera converted to IR. This option is still on the cheaper end of your options and will give you decent results–if you’re OK with the limitations of a point-and-shoot camera: small resolution, more noise, no lens options. The good news is that they’re small and easy to bring in your camera bag, ready to go. The bad news is you’ve sunk money into a camera that’s unlikely to be satisfying in the long run.
The third option is to convert a camera body to IR permanently. This process involves removing the IR cut filter from over the sensor and replacing it with an IR filter of your choice (more on the options later). This type of conversion is best done by a company dedicated to this type of service (links below). If you’re converting a camera within the same system as the rest of your kit, you can share lenses between them, reducing bulk and weight in your bag.
The last and my favorite option is to convert your camera to “full-spectrum.” This conversion involves replacing the filter over the sensor with a piece of glass that lets through all the wavelengths your sensor is sensitive to. It can capture it all! Now, you can put a filter that restores the camera’s “normal” color sensitivity (by filtering out the infrared) or swap it out for one of your IR filters (filtering out the visible light). Your camera can now do double duty—color or IR with a simple change of filters! This approach works best on mirrorless cameras from Sony, Canon, Nikon, or Fuji since you can use drop-in filters behind the lens.
It’s tempting to convert an old DSLR you have lying around from the pre-mirrorless days, but I would recommend against that. They are incompatible with the drop-in filters, so putting a filter in front of your lens makes the viewfinder challenging to use. Focusing and metering are also both unreliable when using the viewfinder. Using the live view mode on the LCD screen will likely solve this problem, but it’s better to convert a mirrorless camera and avoid those issues altogether.
Hotspots
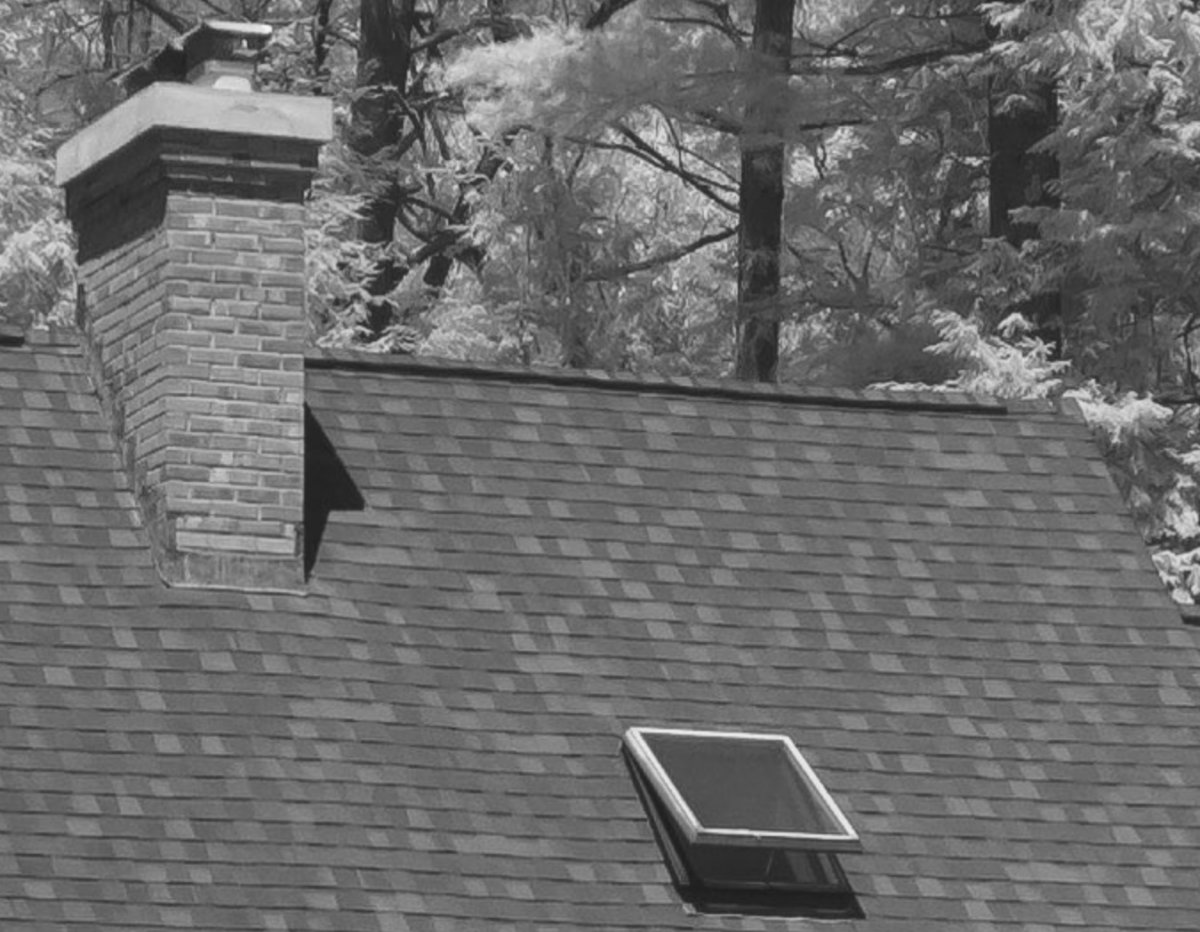
As I mentioned earlier, infrared light behaves differently than visible light. One way this difference shows up is in the way the IR light behaves once it enters your lens. Modern lenses are designed for visible light. The glass and interior of the lens have coatings that minimize flare and other aberrations. Those coatings are not as effective for the IR wavelengths, and one thing to look out for is “hotspots.” These are lens flare types that appear in the center of the frame. Hotspotting varies greatly from lens to lens. Kolari Vision has a fantastic reference for lens hotspot performance here. Where possible, avoid lenses listed as “poor performers,” but on the flip side, getting great shots from those “poor” lenses is possible. I often shoot IR with my Nikon 24-120mm S lens, which is listed as poor, and I get acceptable results. Do I wish it performed better? Sure, but also there are ways to mitigate hotspots in your images.
Hotspotting is worse at smaller apertures and varies from lens to lens. Some lenses start hot-spotting at ƒ/11, while others start at ƒ/5.6. Hotspotting is also worse at shorter focal lengths. Zooming in even slightly can reduce or eliminate a hotspot. The lighting conditions have a significant impact on hotspots. Shielding your lens from strong light sources like the sun can help.
The image above is 720nm at 1/500 sec. The image below is 850nm at 1/125 sec.
You can see that the 850nm lens requires two additional light stops for a similar exposure and suffers from a significant hotspot in these conditions at that aperture.
Diffraction
Another impact of the longer wavelengths of IR light is that it is more prone to image blur due to diffraction. In standard color photography on a full-frame sensor, the rule of thumb is that diffraction becomes a noticeable issue at ƒ/22. It will be apparent in infrared at about ƒ/16, so stick to apertures of ƒ/11 or less to avoid diffraction. If you ever want to do the math, a factor of 1.5 is a good starting point. So ƒ/16 on an infrared-converted body would be equivalent to about ƒ/24 on a standard color body (16 x 1.5 = 24).
Focus Issues
Due to its longer wavelength, IR light focuses differently than the visible spectrum. Some older lenses would have focus indicators for both visible and infrared, but that’s a rarity these days. As I mentioned, the difference in focus behavior between visible and infrared light is a significant reason to avoid DSLRs. Mirrorless bodies do not have this issue.
Camera Settings
The meter in your converted camera can be unreliable, depending on your conversion and the lighting conditions. Using the histogram to set your exposure is best–but don’t expose fully to the right. Leave yourself a little gap between your highlights and the right edge of the histogram to ensure you’re not clipping and maintaining maximum texture in the highlights.
Set your camera’s creative style, picture style, etc. to monochrome. The color rendition of your infrared image will have a strong red, magenta, purple, or other cast (depending on several factors). Since you will end up in monochrome during processing, starting there in the field is best. It’s easier to assess your images in monochrome on your LCD or viewfinder. You can leave your white balance in auto.
Processing
Processing your monochrome infrared images does not need to be complicated with custom white balance, channel swapping, or external editors. With a few minor points to pay attention to, you can process your images like any other monochrome image.
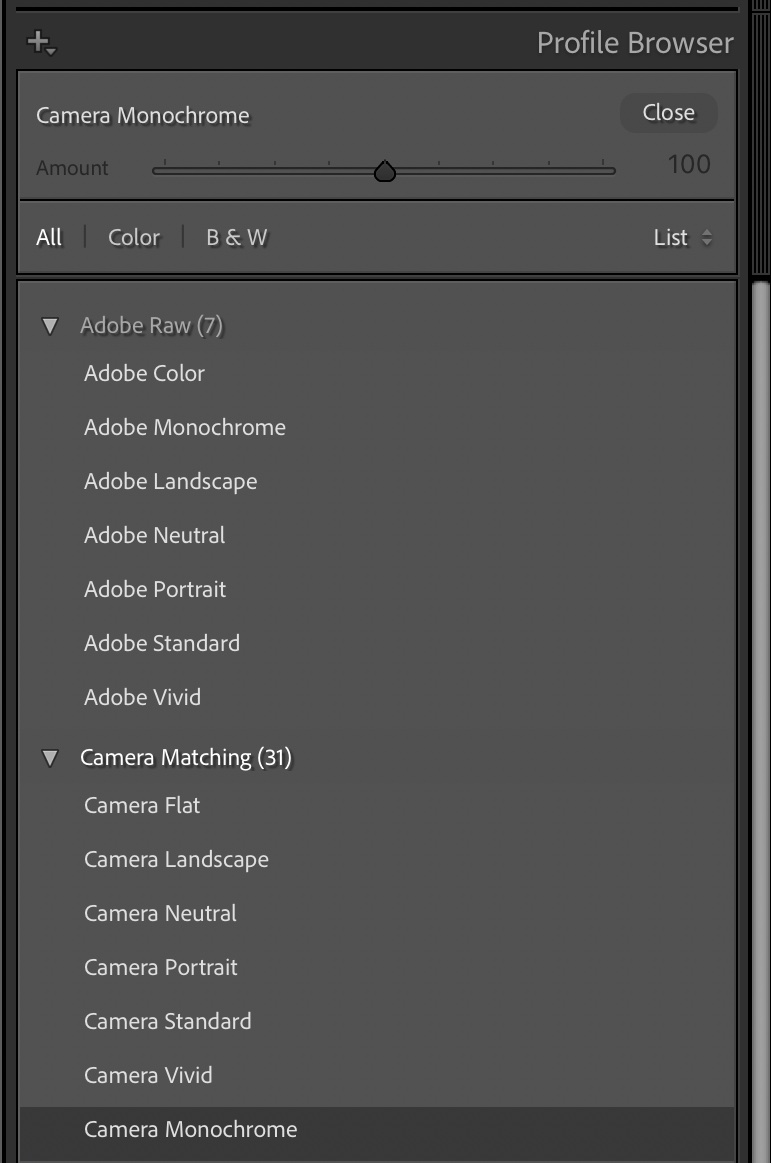
I recommend applying the camera-matching monochrome profile when you process your images. In Lightroom or Camera Raw, Adobe will apply Adobe Monochrome, a one-size-fits-all solution for converting to monochrome. Your camera’s manufacturer provides a monochrome camera profile, which will be your best option.
IR images will often be underwhelming when you open the RAW file, but you’re usually not more than a few adjustments away from a great image. Like other monochrome images, you can be more aggressive with contrast adjustments than in a standard color image.
Have Fun!
That’s about it for the basics of IR photography. Just remember, with the light’s different nature, IR is not for pixel-peeping perfectionists. It’s a vibe, a bit of magic that captivates. You won’t get edge-to-edge sharpness, and your depth of field will be more limited in the aperture ranges you’ll be using. Relax and have fun with it; it will be a rewarding experience.
The fun starts when you look through the camera. You won’t know how a seen renders in IR until you see it in IR. Experiment with different lighting conditions. You don’t need full sun to capture pleasing scenes–forest photography is one of my favorite uses for IR. You can even use filters for IR. Neutral density (ND) filters work great, and a circular polarizer (CPL) can work, although it might not be as noticeable as in color. I find a CPL useful for water reflections and not very useful for the sky–which is already dark enough in IR.
Resources
Kolari Vision offers infrared conversions and full-spectrum conversions with clip-in filters, the easiest way to shoot in either color or infrared with the same camera body (my preference.) They also rent and sell used gear. They have a ton of great information on the differences between the filter types, making it easier for you to know which to choose. And they have an industry-leading list of lens hotspot performance.
LifePixel offers infrared conversions, new and used converted cameras, and great resources for learning more about infrared.
Lensrentals has some infrared-converted camera bodies for rent. Use coupon code MUENCHLENS15 for 15% off any lens rental.
Workshops. There’s nothing like instruction in the field to cement your understanding of these concepts. Join us for our workshop Adirondacks in Infrared on September 12-16, 2024. All gallery images on this page were taken while scouting locations for this workshop.